Fundamental layout comprehension
If you have worked through this module then you will have already covered the basics of what you need to know to do CSS layout today, and to work with older CSS as well. This task will test some of your knowledge by the way of developing a simple webpage layout using a variety of techniques.
| Prerequisites: | Before attempting this assessment you should have already worked through all the articles in this module. |
|---|---|
| Objective: | To test comprehension of CSS layout methods using Flexbox, Grid, Floating and Positioning. |
Starting point
You can download the HTML, CSS, and a set of six images here.
Save the HTML document and stylesheet into a directory on your computer, and add the images into a folder named images. Opening the index.html file in a browser should give you a page with basic styling but no layout, which should look something like the image below.
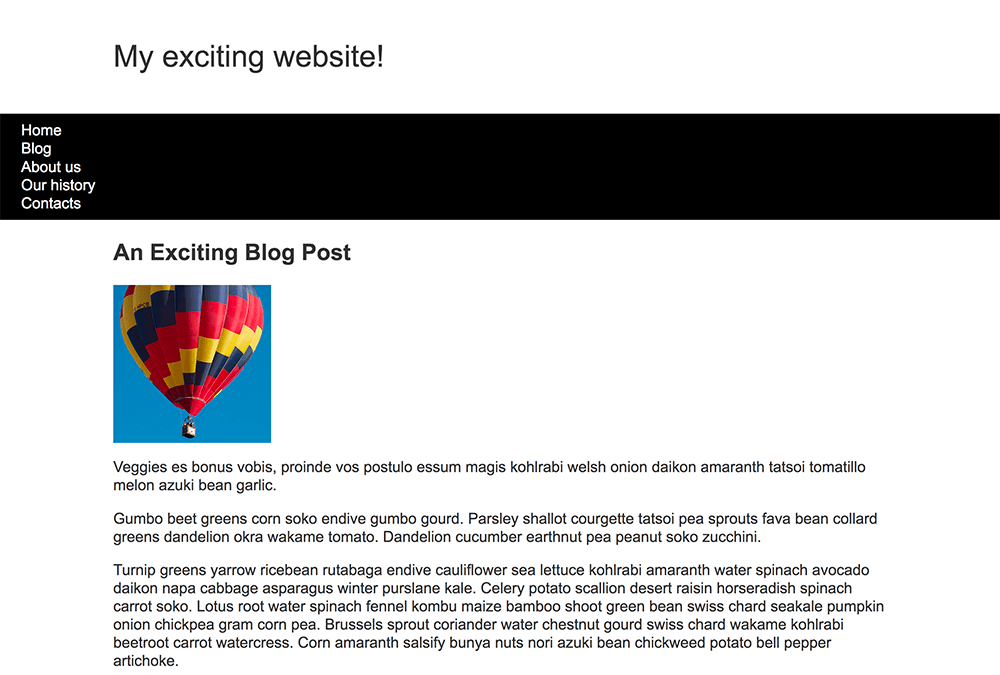
This starting point has all of the content of your layout as displayed by the browser in normal flow.
Alternatively, you could use a site like Glitch to do your assessment, pasting in the HTML and CSS. Note that if you use an online editor you will need to upload the images and replace the values in the src attributes to point to the new image locations. If the online editor you are using doesn't have a separate CSS panel, feel free to put it in a <style> element in the head of the document.
Note: If you get stuck, then ask us for help — see the Assessment or further help section at the bottom of this page.
Project brief
You have been provided with some raw HTML, basic CSS, and images — now you need to create a layout for the design.
Your tasks
You now need to implement your layout. The tasks you need to achieve are:
- To display the navigation items in a row, with an equal amount of space between the items.
- The navigation bar should scroll with the content and then become stuck at the top of the viewport when it reaches it.
- The image that is inside the article should have text wrapped around it.
- The
<article>and<aside>elements should display as a two column layout. The columns should be a flexible size so that if the browser window shrinks smaller the columns become narrower. - The photographs should display as a two column grid with a 1 pixel gap between the images.
Hints and tips
You will not need to edit the HTML in order to achieve this layout and the techniques you should use are:
- Flexbox
- Grid
- Floating
- Positioning
There are a few ways in which you could achieve some of these tasks, and there often isn't a single right or wrong way to do things. Try a few different approaches and see which works best. Make notes as you experiment.
Example
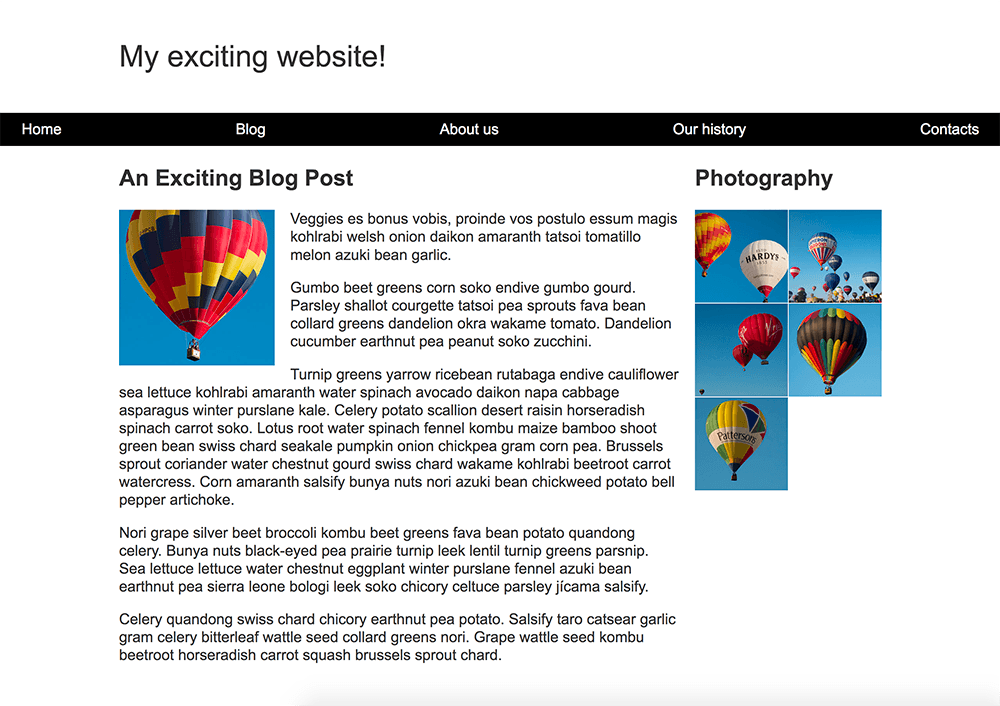
The following screenshot shows an example of what the finished layout for the design should look like:
Assessment or further help
If you would like your work assessed or are stuck and want to ask for help:
- Put your work into an online shareable editor such as CodePen, jsFiddle, or Glitch.
- Write a post asking for assessment and/or help at the MDN Discourse forum Learning category. Your post should include:
- A descriptive title such as "Assessment wanted for Fundamental layout comprehension".
- Details of what you have already tried and what you would like us to do; for example, tell us if you're stuck and need help or want an assessment.
- A link to the example you want assessed or need help with, in an online shareable editor (as mentioned in step 1 above). This is a good practice to get into — it's very hard to help someone with a coding problem if you can't see their code.
- A link to the actual task or assessment page, so we can find the question you want help with.